


In my ongoing quest to find the best 3D printer for entry-level users, I had the opportunity to try Flashforge’s Voxelab Aquila S2 FDM 3D printer. Aquila is a DIY kit for approximately US $289.00 – US $375.00. You can buy it on Amazon or directly from the manufacturer’s website.
This 3D printer review will give you a first impression of what you get when you buy the Aquila S2, what it’s like to build it, and its quality and ease of use.
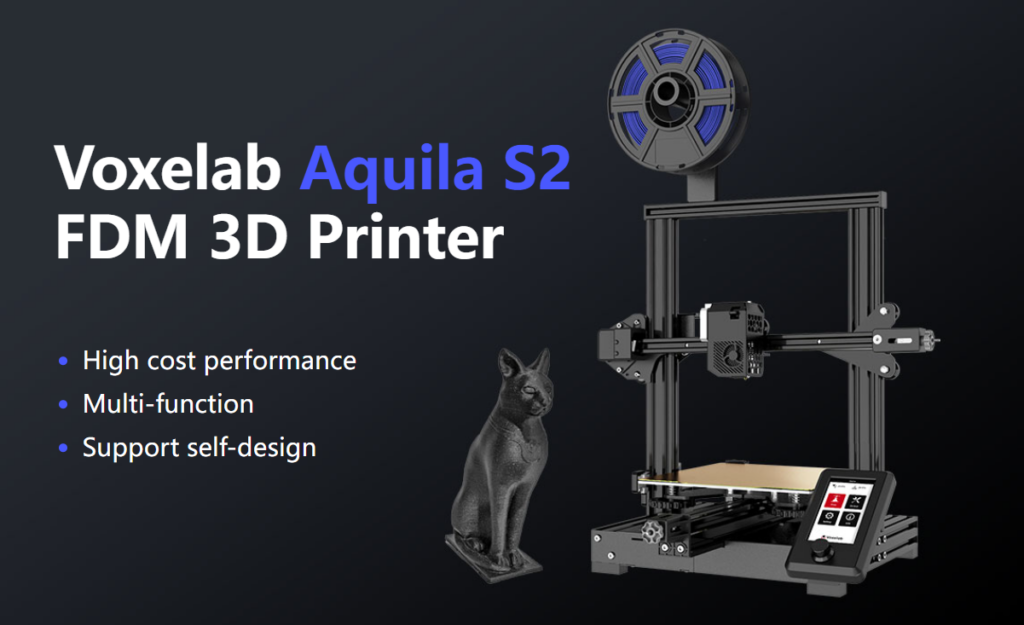
Voxelab Aquila S2 features by Flashforge
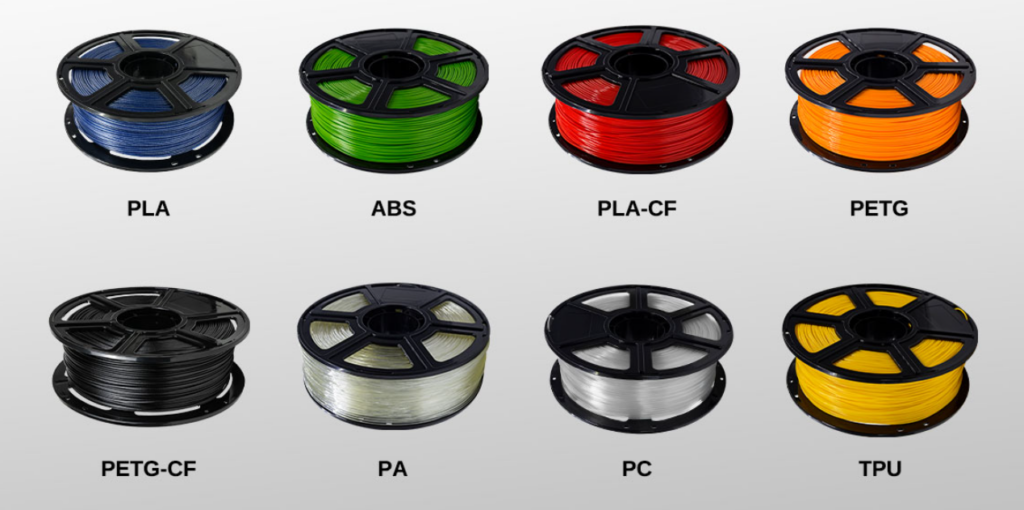
Voxelab Aquila S2 is an FDM filament printer that can print with PLA filament, PETG, PETG-CF, TPU, ABS filament, etc. FDM is an additive process and these 3D printers are the most versatile and easy to use 3D printers. Resin printers, in particular, are surprisingly good, but can be difficult and cumbersome to use.
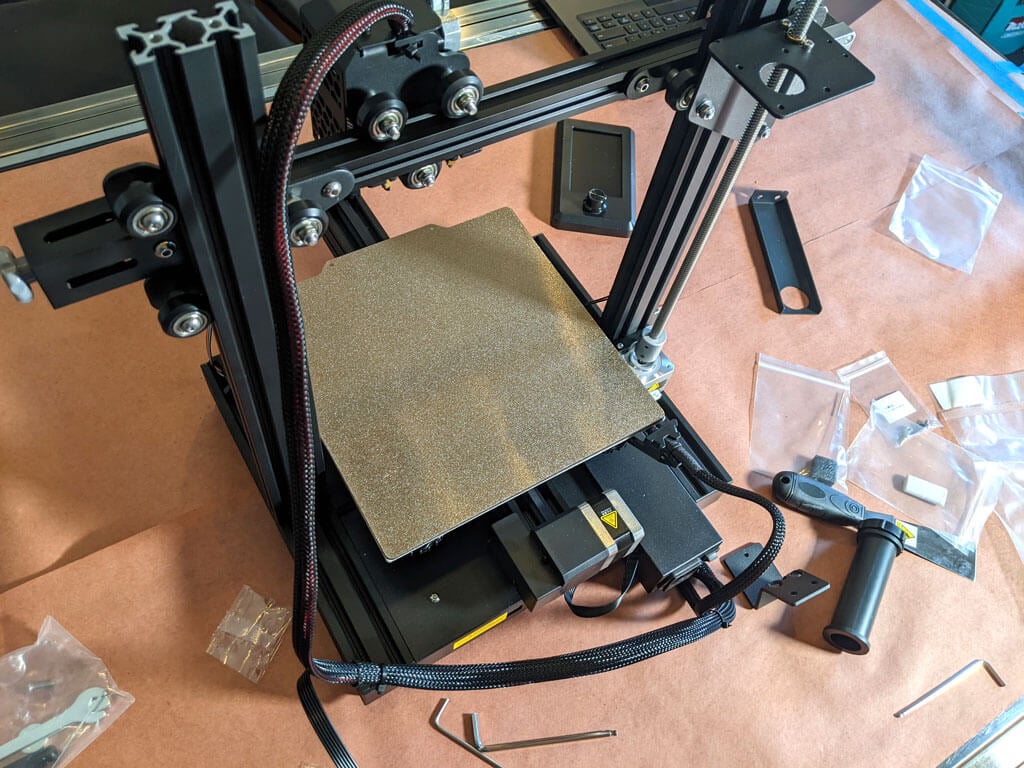
The build volume is 8.7 x 8.7 x 9.4 inches (220mm x 220mm x 240mm), very similar to the print volume of the Creality Ender 3 V2. Early models came with a carborundum-coated glass bed similar to the Ender. Ours came with a magnetic print bed which we loved.
More on the magnetic bed later, but it’s one of the best features of this or any other printer.
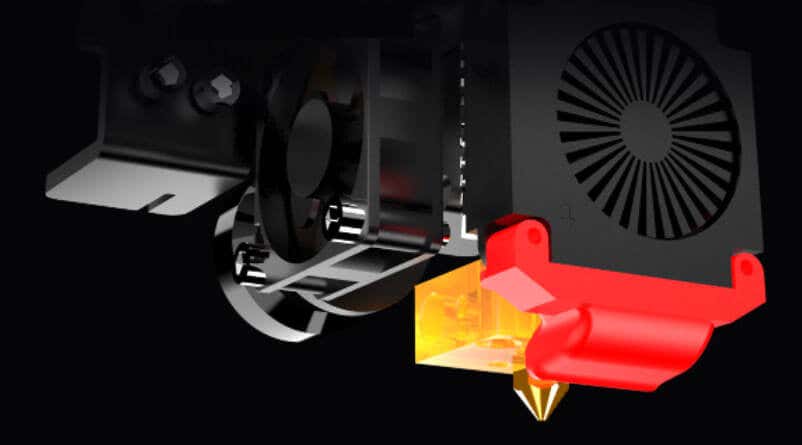
Aquila is very quiet. The fan is the biggest part. In addition, for an entry-level printer, it has an unusually high temperature (up to 300 degrees Celsius) hot end and can use all common filament types.
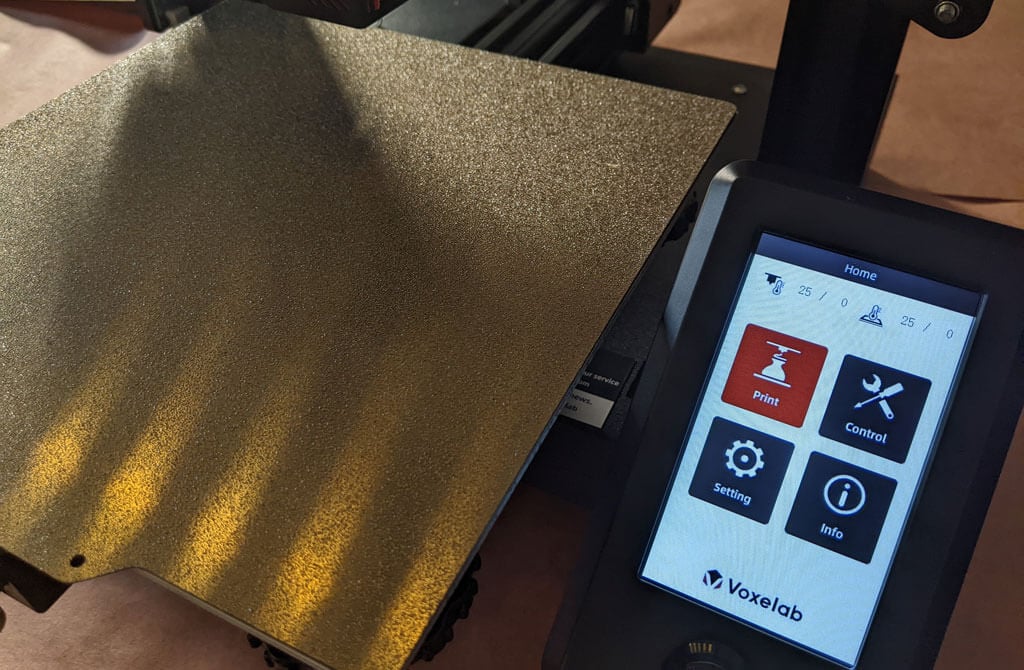
It has a nice LED display, very similar to the AnyCubic Vyper’s display. its big. Clear and colorful. It’s intuitive to use, even though it’s not a touchscreen. There is a rotary knob control that you push to select.
Other observations about Aquila’s functionality:
- If your area experiences frequent power outages, we are happy to inform you that Aquila can resume printing after a power outage.
- Aquila runs a fork of Marlin, arguably the most popular open source 3D printing firmware.
- You can load files and print via a MicroSD card reader or use a serial interface such as Pronterface.
- Most models from Aquila include the N32 chip, so you can run OctoPrint and all the great OctoPrint plugins on this printer.
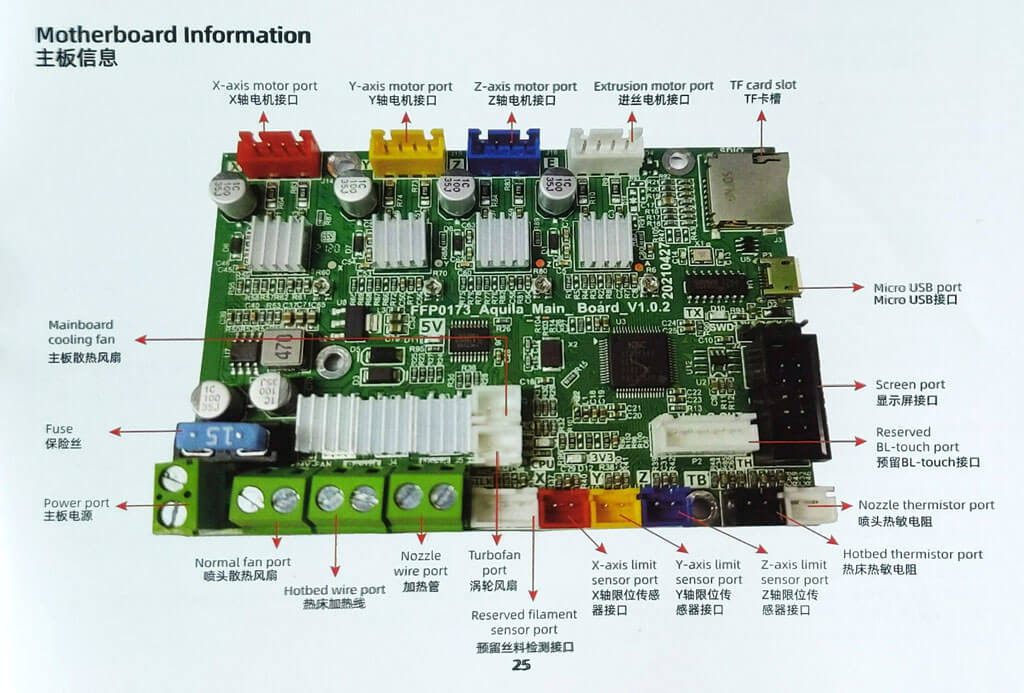
The user manual contains the complete schematics of the motherboard, which will inevitably come in handy when modding the printer.
Assembling the Voxelab Aquila S2 3D Printer
If you have any experience with 3D printing, you know that a certain amount of frustration is to be expected when assembling a new printer.
The manual is full of typos and confusing words. We were confused, but everything worked out.
Beginners will find this printer easier to assemble with two people. Also, 3D printers require maintenance. Building it yourself gives you the confidence you need to do its maintenance. All the included tools are of high quality. You should especially hold a good Allen wrench.
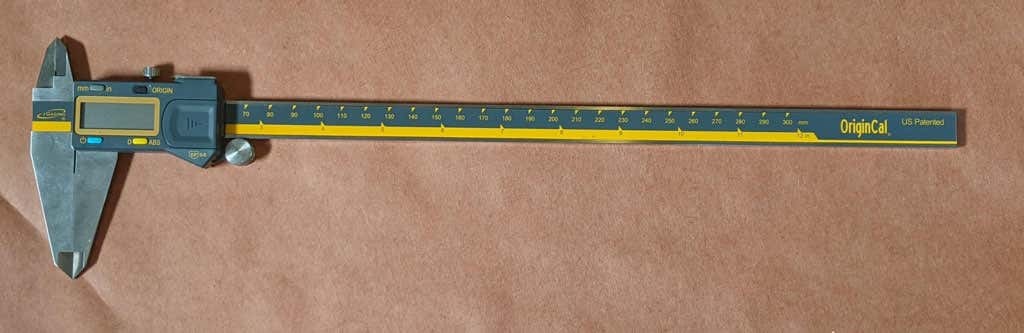
The bolts are not labeled so I recommend using a pair of calipers to figure out which is which. I wish I had been.
Beginners can get stuck trying to assemble this printer using only the included user manual. Assembling the printer took about an hour. They have a YouTube video that corrects the confusion.
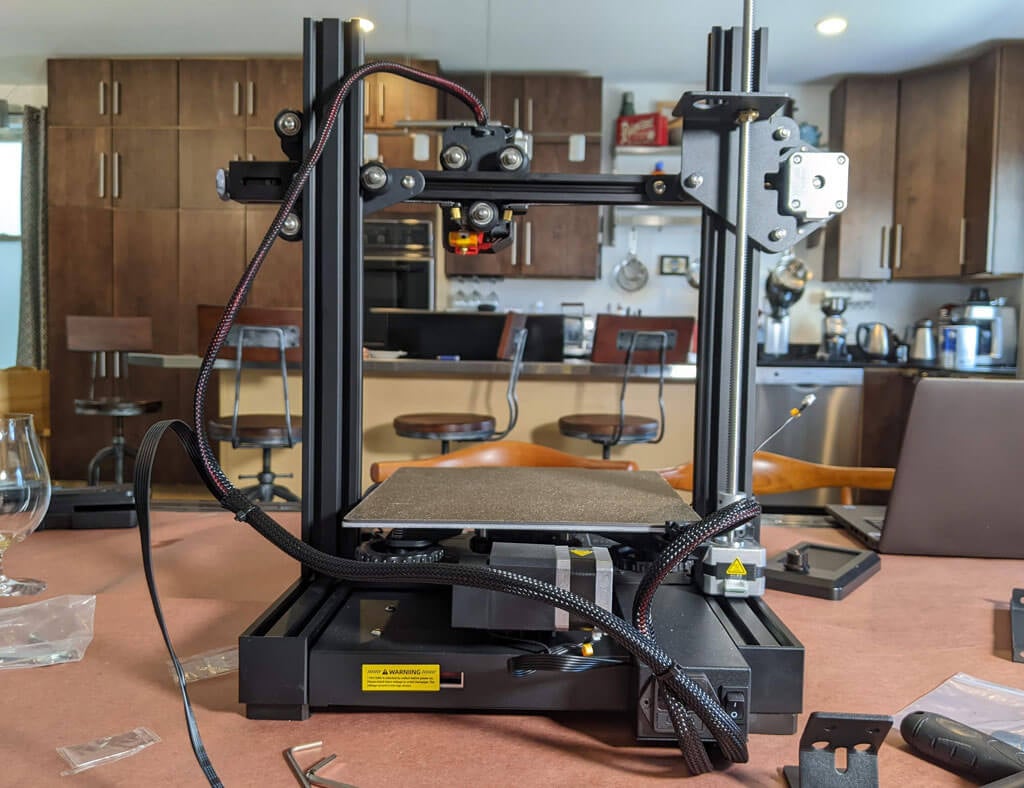
Voxelab Aquila S2 build quality
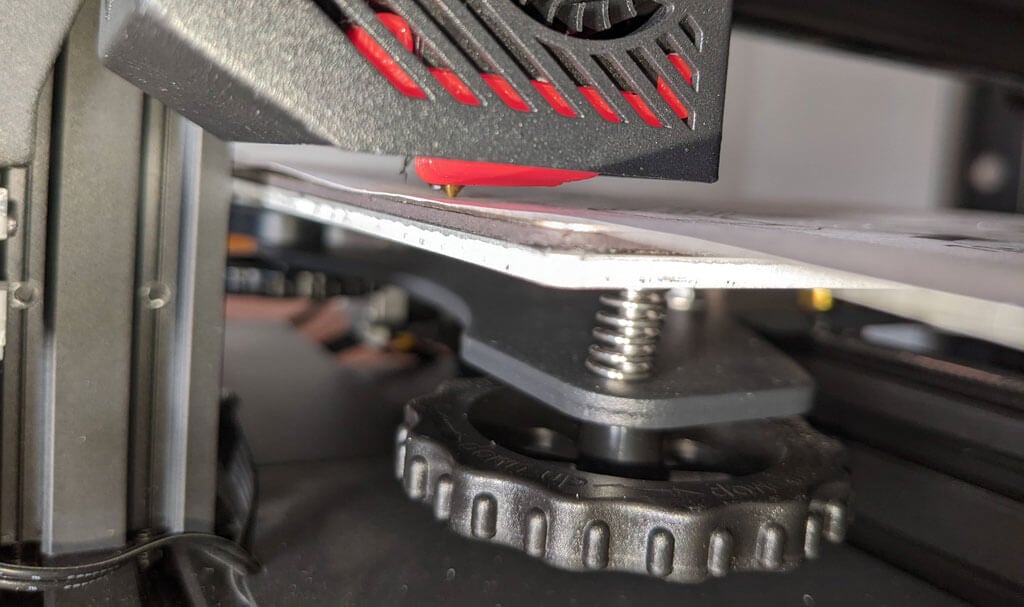
This is a very well put together entry level printer. Equipped with a direct drive extruder. There are aluminum extrusions for the X, Y and Z axes. The only thing that makes this an entry-level and high-end printer is the lack of automatic bed leveling and the fact that there is only one z-axis screw.
A removable magnetic PEI bed is a must-have for us. It will save you a lot of grief, time and hurt.
A belt tensioner is a nice feature that other printers often lack. Belts do need to be tightened occasionally, but it’s nice to be able to do that without taking the printer apart.
The Aquila comes with a spool holder, but the first one I want to replace and move. You’ll want to remove the weight from the top of your printer. Printing your own spool holder is a right of passage and is also included in the sample files that come with the SD card.
calibration
All printers with manual bed leveling have a learning curve and can be confusing as the threads are upside down.You can add your own automatic bed leveling kit.Once you understand the basics of 3D printing, it would be a great project. To be fair, it only took about five minutes to manually level the bed, and if this is his first 3D printer, it may take a little longer.
Once the bed is level and the test print prints successfully, you need to print your own model. Voxelab has profiles that can be imported into Cura, a free and open source slicer that can convert STL 3D model files and other formats into instructions (gcode) that printers understand. You can use any slicer. However, the VoxelMaker slicing software is included on the SD card that came with your printer.
first print
The included test model is already calibrated for the printer, so we recommend starting with it. It is located on the MicroSD card and is accessible from the LCD panel. There were no adhesion issues during printing, and the print peeled off the build plate on its own as it cooled.
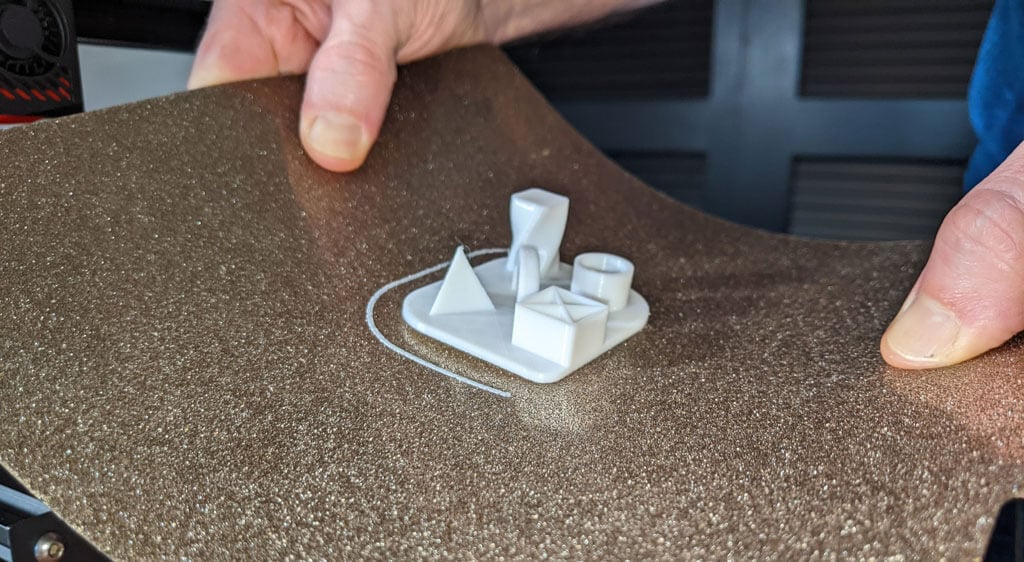
The sample file prints significantly slower than the printer is capable of, so it makes sense as a test print. No stringing occurred, and we found the print quality to be impressive given the cost of the printer.
I started printing with a layer height of 0.2mm. The minimum layer thickness is 0.1mm. If you need more resolution than that, I’d suggest looking into a resin printer.
get to the point
This printer is very similar to the Ender 3.
- It’s inexpensive.
- Removable magnetic bed.
- The LCD screen has gotten better.
We recommend the Voxelab Aquila S2 for users who want to save money while still getting some of the features of more expensive high-end printers. I wish it had automatic bed leveling, but I have to say that at this price point, the Aquila S2 exceeded expectations.
*Thanks to FormerLurker for reviewing the Voxelab Aquila S2 3D printer on Flashforge.