











Windows 11 is Microsoft’s latest operating system. It offers many new features such as improved design, widget support, new snap layouts, Windows Subsystem for Android and more. Meanwhile, Apple has been working hard to improve macOS and app support for the M1 and M2 Macs, making them one of the best in the business. However, even Mac users may need Windows OS to run some programs and applications on their devices.
So, is it possible to run Windows 11 on a Mac with an Apple Silicon chip? The answer is yes, but not without some limitations and challenges. This guide will show you how to install Windows 11 on your M1 or M2 Mac. We’ll cover the two most common ways to install an OS on your Mac: using the free UTM app and the easy way to install Windows using Parallels Desktop.
Before you start

Before we begin, it’s worth pointing out that you can’t natively install Windows 11 on M-series Macs like you can on Intel-based Apple computers. This is because the M1 and M2 Apple Macs use a different processor architecture (ARM) than traditional Intel-based processors. Windows 11 is designed to run on the x86-64 architecture and requires specific drivers and software that are not compatible with ARM-based processors.
However, Microsoft recognizes the importance of the ARM architecture and is currently developing an ARM version of Windows 11 available as an ‘Insider Preview’ (Beta). To run Windows 11 on your M-series Mac, use virtualization software. This allows you to create virtual machines that simulate different hardware environments for your guest operating system.
This means you can still take advantage of macOS features while running Windows 11 on your M-series Mac. With this approach, Windows 11 uses your Mac’s hardware resources to run applications without restarting your computer. Also, most 64-bit Windows applications are compatible with this version of Windows 11.
freeway
To install Windows 11 on your Mac for free, use the UTM app, open source virtualization software. With this app, you can run any operating system on your Mac. However, you may have to pay for a Windows 11 product key. Here’s how to install Windows 11 on your M1 or M2 Mac using the UTM app.
- First, install the UTM app on your Mac. The software can be downloaded by visiting the official website (free) or using the Mac App Store (paid).

- Then download the Windows 11 Insider Preview ARM64 ISO file from Microsoft’s website. You may need to sign up for a free Microsoft Insider account to download the ISO file. Make sure you download the “development channel”, not the “beta channel”.
- After downloading both files, open the UTM app on your M1 or M2 Mac and follow the on-screen instructions to complete the installation.
- In the UTM app main menu, + Sign and create a new virtual machine.
- On the next screen, Virtualization Select an option and then select Windows Create an environment for Windows 11.
- Please check bothImporting VHDX images” and “Please install Windows 10 or later.” Checked. moreover,”Install drivers and SPICE tools” is also checked.
- click now Browse Then select the Windows file you just downloaded.
- On the next screen, allocate the amount of RAM and CPU cores to allow access to your Windows 11 virtual machine. We recommend allocating at least 4 GB of RAM and at least 2 cores.
- Review and select your settings keep.
- next,[再生]Click the button to start your Windows 11 virtual machine. From there, follow the Windows 11 setup process. congratulations. I have successfully installed Windows 11 on my M1 Mac using the UTM app.

If you experience network problems, restart the virtual machine and press on the language selection screen. Fn + Shift + F10 Start Command Prompt. At the command prompt, type OOBE\BYPASSNRO and press Enter. The virtual machine restarts and “i don’t have internet.” Select this option to complete the setup. Rest assured that your Windows 11 virtual machine will still be able to access the Internet through macOS.
Also, install the SPICE tools after the setup is complete. C drive of a Windows 11 virtual machine. A file named “spice-guest-tools-xxx.exe” will appear on your C drive. Follow the setup wizard to install guest tools on your Windows 11 VM. This will allow the virtual machine to run at full resolution.
Hassle free method
The best way to run Windows 11 on your M1 or M2 Mac is with Parallels Desktop software. In fact, with the latest Parallels Desktop 18 release, Microsoft calls this method the “approved” method of installing Windows 11 on Apple Silicon Macs.
Parallels Desktop is a reliable solution, but it’s important to note that it’s paid software and requires a subscription fee. You can try it for free for 14 days, after which you need to purchase a license. The Standard Edition is his one-time purchase for $99.99 and the “Pro” version of the software is $119.99 per year.
Here’s how to install Windows 11 on your M1 or M2 Mac using Parallels.
- Visit Parallels official website and download the app from there.
- Grant the required permissions and wait for the installation to complete.
- Once the installation is complete, the software will ask: Download and install Windows 11. click Install Windows Software download will start.
- After the Windows 11 ISO download is complete, follow the on-screen instructions. Installation takes just a few minutes.
Installing Windows 11 on your M1 or M2 Mac is easier than ever
Running Windows 11 on your M1 or M2 Mac might have been a daunting task before, but with the help of the UTM app and Parallels, the powerhouse has become much easier. Although the method still requires some steps, the Parallels Desktop app is still the best way to install the Microsoft OS on your device.
These are the best Apple Macs on the market today.
-
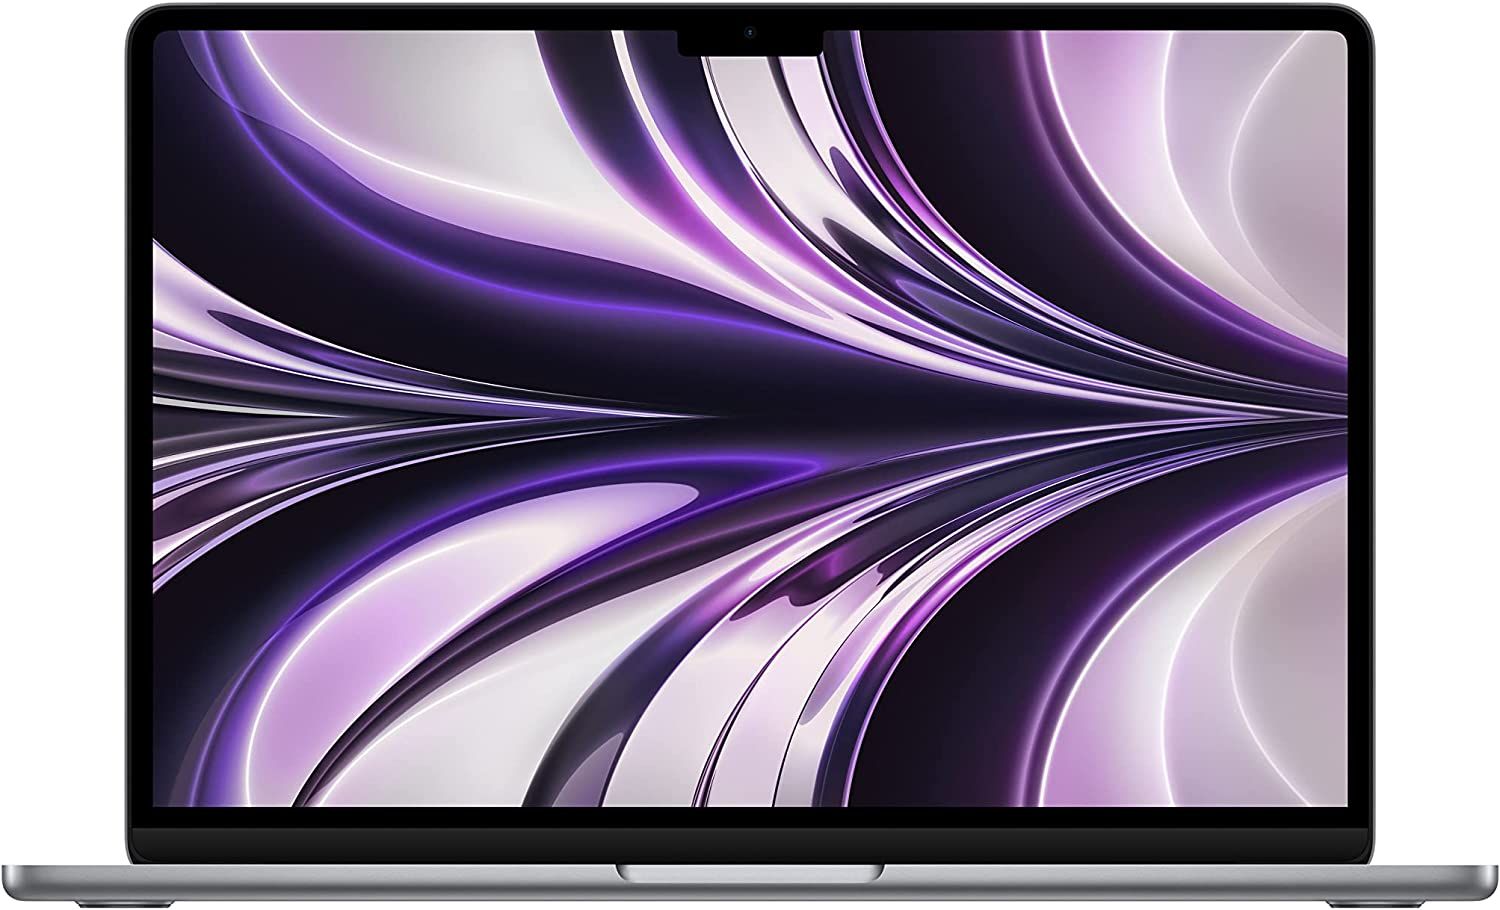
M2 MacBook Air
The latest MacBook Air is powered by M2 Apple Silicon, which offers better performance than M1 series chips. It has great battery life and all the performance you need for multitasking, editing, and working on the go.
-
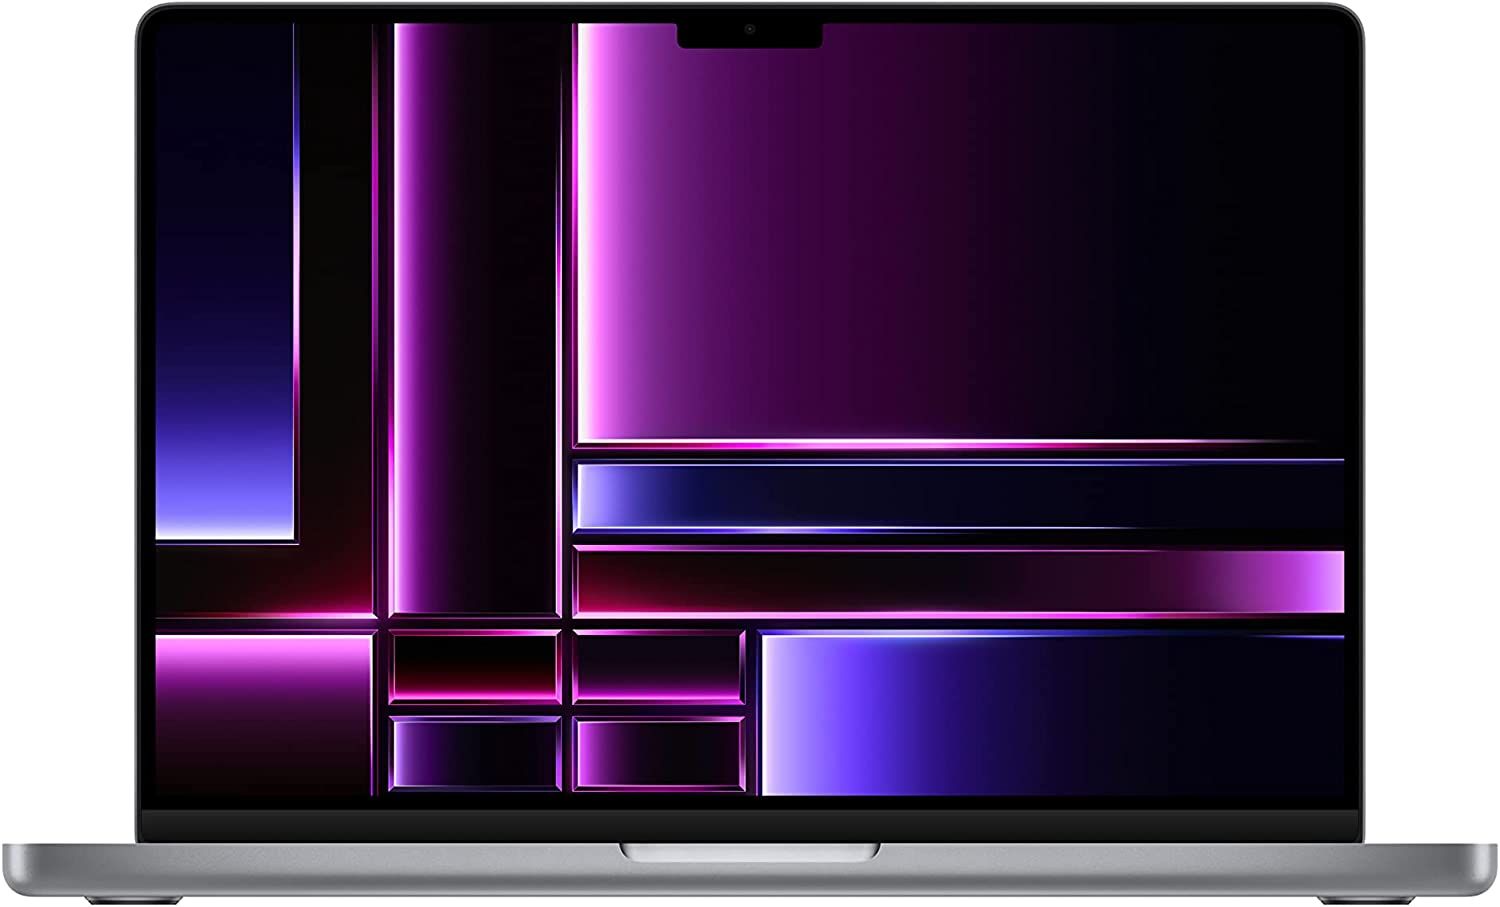
14.2-inch MacBook Pro (2023)
The latest 14.2-inch MacBook Pro (2023) features the new M2 Pro or M2 Max powered chip. The machine features up to 12 core CPU, up to 38 core GPU, up to 96G unified memory and 8TB storage. This is one of the most powerful laptops on the market in 2023 and one of the best devices for professionals and power users.
-
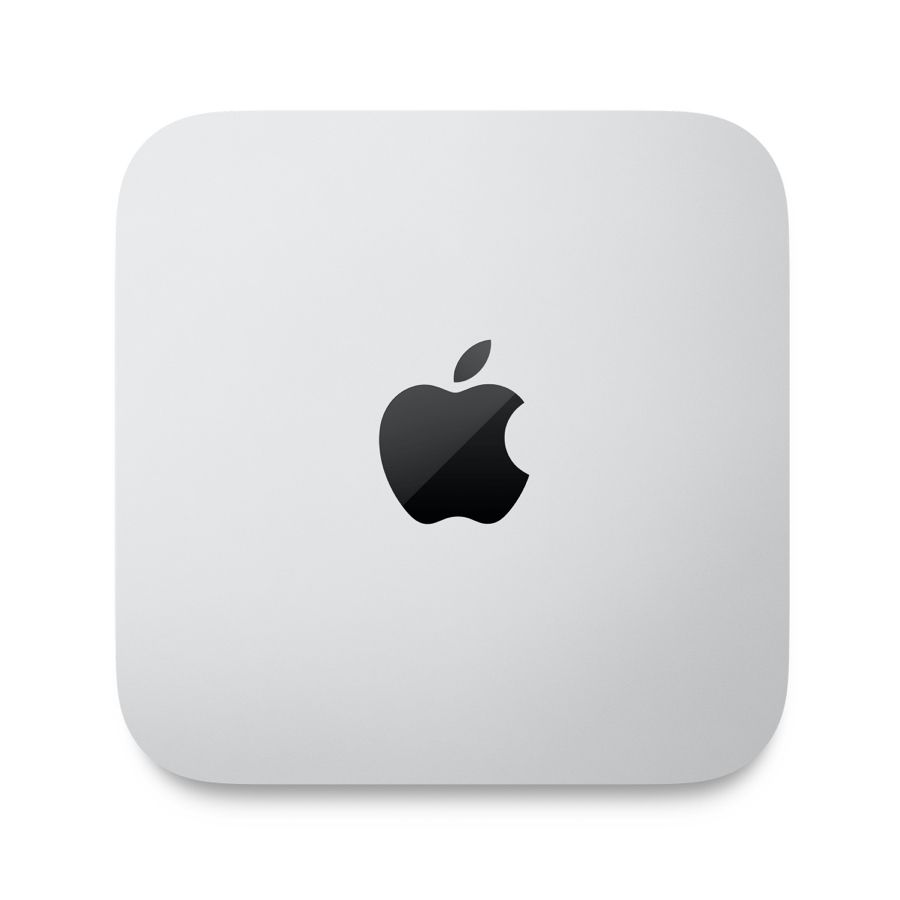
Mac mini with M2
This Mac mini variant features the M2 chipset, an 8-core CPU with 4 high-performance cores and 4 high-efficiency cores. It also has a 10-core GPU, up to 24 GB of RAM with 100 GB/s bandwidth, and a 16-core neural engine.